|
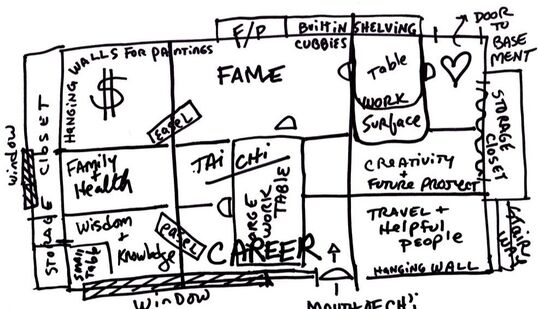
DIVIDE YOUR HOME STUDIO INTO "ZONES"
If your space is small, create spaces can be used for more than one process. For example, you can draw and cut a stencil on the same table that you use for printing. The most important thing is to clean up between each process always work in a clean and clear space. The spaces we create to make art in are personal, so there is no one correct layout. Experiment with the space to make it function best for you. There are a lot of things to consider when setting up your studio. Review the various options below. |
|
STORAGE – EFFICIENT STORAGE MAKES PRINTMAKING EASIER
- Use a mix of cupboards, shelves, hooks, pegboard, trolleys and boxes makes it easy to store and find your printmaking tools and equipment.
- Inks should be stored upright, out of direct sunshine. Make sure the lids are screwed on properly so that the inks don’t dry out.
- Hang rollers from a hook or stand handle end down in a container. Don’t leave the rubber resting on anything as it may damage the surface and make sure they’re dry before you store them.
- Protect the rubber strip of squeegees by storing them flat or upended. Alternatively, screw an eye hook into one end and hang them from a peg.
- Stand or stack screens face to face and back to back, making sure they can’t be damaged by sharp objects or heavy items sitting on top of them.
- Paper and fabric should be stored somewhere dry and clean, out of direct light. Make sure you know where your finished prints are stored so that you can easily find them in a filing cabinet. Don’t spend hours printing your masterpiece and then lose it!
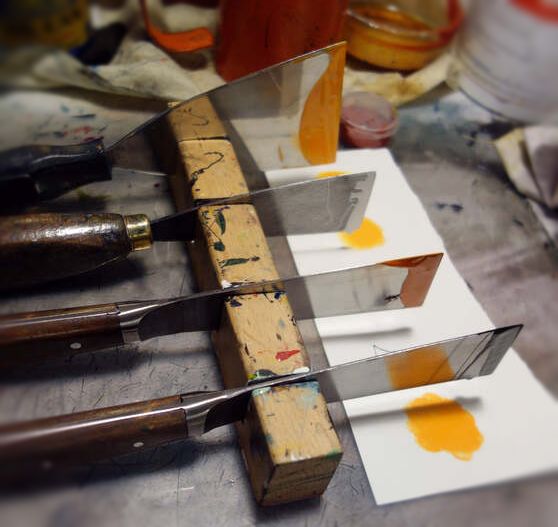
- Keep sharp tools such as lino cutting tools in the box they came in, in a fabric roll or upright in a stand. Make sure the blades of knives are retracted or covered.
- Store inks, solvents and sharp blades safely; blades should be covered and all should be kept away from children.
PREPARATION – MAKE YOUR PRINTMAKING PREPARATION AREA SAFE AND COMFORTABLE
- Each printmaking technique has its own preparation requirements, so although you may be cutting out stencils for screen printing or etching Perspex sheets for drypoint, the basic requirements are the same.
- Choose a sturdy desk, workbench or table at a height that’s comfortable for you, depending on whether you prefer to stand or sit. Protect your work surface with a cutting mat if you’re using sharp implements. Good lighting is essential.
|
PRINTING – ARRANGE YOUR PRINTMAKING AREA TO SUIT YOUR WORKFLOW
|
|
|
DRYING – MAKE ROOM IN YOUR PRINT STUDIO TO EFFICIENTLY DRY YOUR PRINTS
|
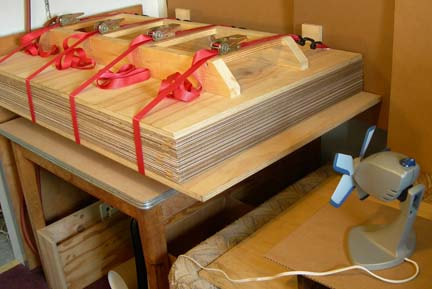
It doesn't take much to move air through a stack of corrugated cardboard. This works almost as well as the Exhaust Fan Assembly. Allow a couple of extra hours of drying time.
|
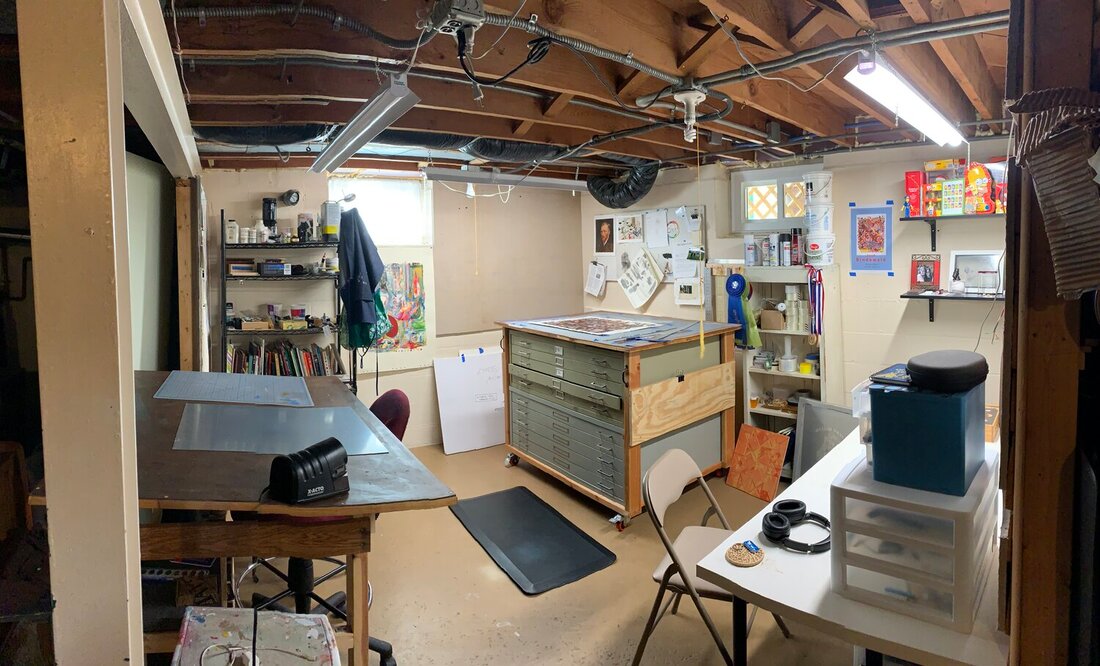
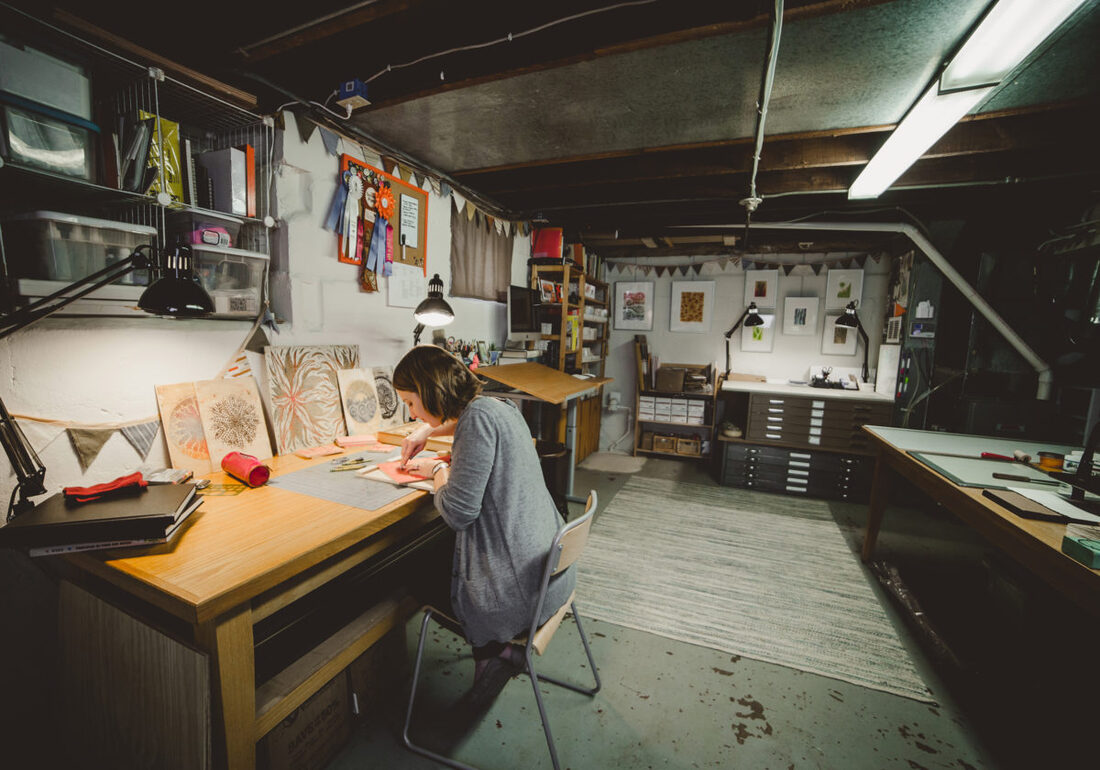
Josh Bindewald's basement studio.
|

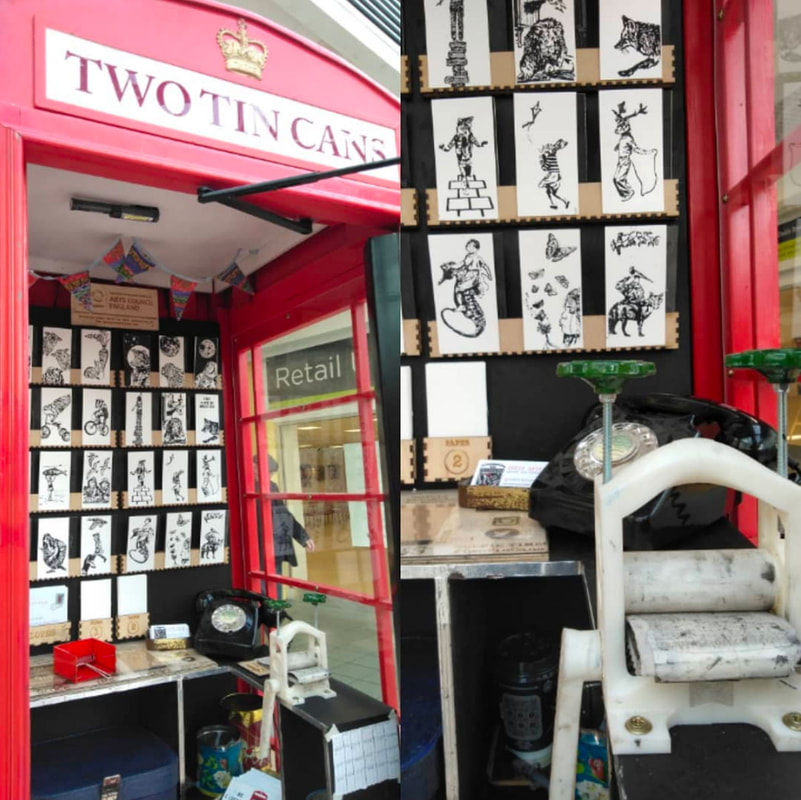
Inside a 54-square-foot workspace, Jen Hewett screenprints, block prints and sews fabric into artwork.
|
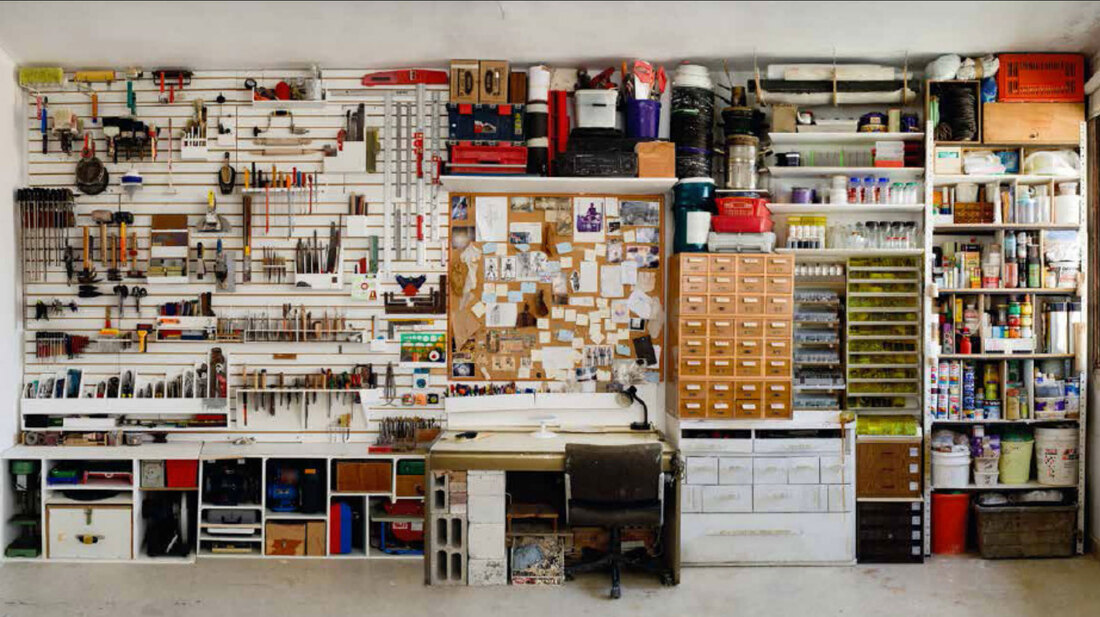
Kari McDonald runs her printmaking business Lemuette in a converted cow barn on a former farmstead.
|
|
|
|

|
Haimi Fenichel, "Horror Vacui" 87” x 50” (2008) color photograph
|
References (still in progress)
