Above: Henny Van Ham. Swans Nourish Men. Kitchen litho. 2014
"Kitchen litho" was first invented by the French artist Émilie Aizier. Compared to the traditional technique, it's a quick, simplified, non-toxic process. And you likely already have the supplies at home: aluminum foil, vegetable oil, and soda. You can simply take the glass from an old picture frame to serve as the glass plate. The surface for rolling out paint can be an old piece of wood, cardboard, or glass. Nixing toxic chemicals makes kitchen lithography more eco-friendly, too: Turpentine is replaced by plain vegetable oil and cola is used to etch the printing plate (as opposed to pure acids). Two proponents of the technique are Laura Sofie Hantke and Lucas Grassman of Studio Lula in Darmstadt, Germany, who wrote the book on the subject (Kitchen Lithography: Hand Printing at Home) and host workshops dedicated to teaching their craft to others.
RESOURCES
RESOURCES
|
Recommended Drawing Materials:
|

|
|
1. PREPARING THE PLATE
Use aluminum foil you buy in your supermarket. Ensure that the foil is not surfaced with a film of food-grade plastic. Take care in the various processes to avoid offending the foil or leave finger traces. The use of plastic gloves is recommended. Unroll gently without putting fingerprints on the matte side as it is on this side, we draw. Cut the aluminum with a large pair of scissors. The format of the foil should be several inches larger than your future drawing. You can tape down foil of aluminum with Scotch tape on a metal plate or better a plastic surface. This aluminum has a nice feel resistance, after some events, there is good stability allowing an edition of more of fifty prints.
2. DRAWING
To start very fast, you can draw directly on the surface with a greasy or soft pencil 8 or 9B, pencil of color (children pencil), permanent marker, ballpoint pen, grease pastel and Indian ink. Because of the thickness you can have material effects depending on the surface you use to place the foil – rough or smooth Aluminum foil is very sensitive to the skin's grease.
3. ETCHING
Use of cola or other cola-flavored soda. You can verify the presence of acid phosphoric or orthophosphoric acid in the composition. Fresh cola is more acid and acidification are quick. You can keep the solution for several days in a bottle. Stale cola also works. Pour cola into a large plastic container and put the foil inside with the drawing face to you. Observe very closely your plate, it is imperative that water or cola clings well all over the white areas. Rinse with a water sponge immediately. The plate becomes hydrophilic due to the action of phosphoric acid and gum arabic contained in cola.
4. WIPE AWAY THE DRAWING
It is a difficult part for beginners. You have to delete all images made with the pencil (or ink) lithographic, otherwise the drawing will clog. Pour a little oil (e.g. vegetable oil, canola oil or olive oil) on the plate and wipe gently, lightly and quickly with a soft cloth. A ghost drawing appears. Finish wiping with a clean sponge and well wet.
5. SPONGING
Use another clean damp sponge just as you pass the plate. The sponge should be always damp and not dripping when pressed. Sponge with water, allowing to wipe ink on the plate.
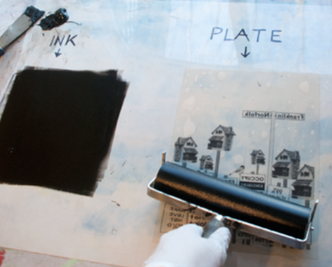
6. INKING THE PLATE
Different oil-based inks are used (lithographic etching intaglio inks.). To start, I recommend an intaglio ink for its flexibility. Soak the sponge in the clean water and then wring it into another bowl (or in the sink) so that it does not drop more. Gently and quickly wet the plate with the sponge. Ink the entire plate after sponging. You must systematically wet and wipe just before and after the inking. Try to roll as few times as needed across the drawing's surface. The sponge will be quickly soiled because it will wet and wipe at the same time the ink on the plate. If gray areas appear on the image, emphasize sponging.
CORRECTIONS
A brush dipped in a glass of cola can correct and clean a gray area or a spot during the inking. Don't drink the glass of cola after the workshop.
7. PRINTING THE PLATE
Place the rag paper on the freshly inked plate. For more details, you must first wet the paper in water. An intaglio press makes perfect and regular prints. You can keep the wool felts in place of the press, but it is imperative to strengthen the pressure on rag paper. For this, using a plastic plate with a little less than a millimeter thick, then lay over the back of rag paper and then fold over the wool felts. Without a printing press, you can use a large spoon and rub the entire back surface of the rag paper.
8. STORAGE
After printing, you can keep your plate for several months with applying thinly gum arabic with a brush and letting it dry on your foil. To reactivate the plate, wipe dry cola with water.
Use aluminum foil you buy in your supermarket. Ensure that the foil is not surfaced with a film of food-grade plastic. Take care in the various processes to avoid offending the foil or leave finger traces. The use of plastic gloves is recommended. Unroll gently without putting fingerprints on the matte side as it is on this side, we draw. Cut the aluminum with a large pair of scissors. The format of the foil should be several inches larger than your future drawing. You can tape down foil of aluminum with Scotch tape on a metal plate or better a plastic surface. This aluminum has a nice feel resistance, after some events, there is good stability allowing an edition of more of fifty prints.
2. DRAWING
To start very fast, you can draw directly on the surface with a greasy or soft pencil 8 or 9B, pencil of color (children pencil), permanent marker, ballpoint pen, grease pastel and Indian ink. Because of the thickness you can have material effects depending on the surface you use to place the foil – rough or smooth Aluminum foil is very sensitive to the skin's grease.
3. ETCHING
Use of cola or other cola-flavored soda. You can verify the presence of acid phosphoric or orthophosphoric acid in the composition. Fresh cola is more acid and acidification are quick. You can keep the solution for several days in a bottle. Stale cola also works. Pour cola into a large plastic container and put the foil inside with the drawing face to you. Observe very closely your plate, it is imperative that water or cola clings well all over the white areas. Rinse with a water sponge immediately. The plate becomes hydrophilic due to the action of phosphoric acid and gum arabic contained in cola.
4. WIPE AWAY THE DRAWING
It is a difficult part for beginners. You have to delete all images made with the pencil (or ink) lithographic, otherwise the drawing will clog. Pour a little oil (e.g. vegetable oil, canola oil or olive oil) on the plate and wipe gently, lightly and quickly with a soft cloth. A ghost drawing appears. Finish wiping with a clean sponge and well wet.
5. SPONGING
Use another clean damp sponge just as you pass the plate. The sponge should be always damp and not dripping when pressed. Sponge with water, allowing to wipe ink on the plate.
6. INKING THE PLATE
Different oil-based inks are used (lithographic etching intaglio inks.). To start, I recommend an intaglio ink for its flexibility. Soak the sponge in the clean water and then wring it into another bowl (or in the sink) so that it does not drop more. Gently and quickly wet the plate with the sponge. Ink the entire plate after sponging. You must systematically wet and wipe just before and after the inking. Try to roll as few times as needed across the drawing's surface. The sponge will be quickly soiled because it will wet and wipe at the same time the ink on the plate. If gray areas appear on the image, emphasize sponging.
CORRECTIONS
A brush dipped in a glass of cola can correct and clean a gray area or a spot during the inking. Don't drink the glass of cola after the workshop.
7. PRINTING THE PLATE
Place the rag paper on the freshly inked plate. For more details, you must first wet the paper in water. An intaglio press makes perfect and regular prints. You can keep the wool felts in place of the press, but it is imperative to strengthen the pressure on rag paper. For this, using a plastic plate with a little less than a millimeter thick, then lay over the back of rag paper and then fold over the wool felts. Without a printing press, you can use a large spoon and rub the entire back surface of the rag paper.
8. STORAGE
After printing, you can keep your plate for several months with applying thinly gum arabic with a brush and letting it dry on your foil. To reactivate the plate, wipe dry cola with water.
Materials you will need:
1. First things first – Let’s prep! Put on some gloves. The aluminum foil will pick up even the slightest traces of oil, so your fingerprints will show up on the final print if you touch it with your bare hands.
2. Scoop about half a tablespoon of ink into the paper plate with a plastic knife. Using a brayer, roll it out to a smooth, even layer. You don’t want it to be goopy—a little goes a long way! Set it aside until you’re ready to print.
3. Tear a sheet of aluminum foil smaller than the size of the cookie sheet. Try to keep it as smooth as possible. Lay your aluminum foil the on the cookie sheet, shiny side up, and tape the edges down with masking tape so it won’t move around while you work.
4. Use the steel scrubby to gently rough up the surface of the foil where you plan to draw your image: the texture helps the sharpie adhere to the foil, creating a better resist.
5. Draw you image on the foil with a sharpie: simple lines and shapes work best (in our case, stars, planets, and galaxies were the theme).
6. This is where it gets cool: open your cola and pour it over the image. Let it stand for a minute or two. The phosphoric acid in the cola etches around the lines of your drawing into the foil.
7. Lightly rinse your etched foil sheet in the sink, just enough to get the cola off (leave it taped to the cookie sheet while you do this.)
8. Now, pour a little vegetable oil on the surface of the foil and buff it in gently using a clean sponge. You may start to see the Sharpie marks coming up: that’s fine, don’t sweat it. This is also the equivalent to oiling your stone so the water pools in the etched area (you won’t really see it, but it’s happening!).
9. Dip your sponge in clean water and brush it over the surface. You want the foil to be wet…but not too wet. Just damp. You may have to work a bit to figure out perfect amount.
10. Now roll the inked brayer over the image, then wipe the foil again with the wet sponge and repeat. You want to make at least three passes with the ink, and keep wiping the surface with the wet sponge in-between charges. If the surface does not have enough water on it, the ink will roll up your whole image. When the ratio is perfect, only the image will pick up the ink and you will get a crisp print (this takes some practice—there are artists who really work at this, so don’t get discouraged!).
11. Lightly mist a sheet of watercolor paper with the spray bottle (again: not too much, not too little, think Goldilocks here) press it over the foil, and smooth it out. The back side of a large spoon is a good tool for this.
12. Gently lift your print off the foil and admire it! You can make multiple prints from one foil “plate.”
13. If you want to add color, you can use watercolors, pencils, paint, whatever you like. If you’re feeling really confident, you could even try making multiple prints in different colors on the same paper, adding one color at a time, as in chromolithography.
- Heavy-duty aluminum foil (It has to be heavy duty)
- Fresh cola (it loses its effectiveness if it’s been opened for more than a few minutes, so don’t open it until you need it!)
- A Sharpie pen – any size, or a variety!
- Oil-based etching ink (this won’t work with paint, water-based ink, or other oil-based printing ink. Trust us; it has to be etching ink!)
- Latex gloves (they keep you from staining your hands, but you also want to keep your fingerprints off the foil)
- Steel wool or steel scouring pad
- Vegetable oil
- A cookie sheet with a rim
- A paper plate
- A small brayer
- A spray bottle of water
- Watercolor paper
- Masking tape
- LOTS of paper towels
- A couple sponges
- A large spoon
- A small bowl of water
1. First things first – Let’s prep! Put on some gloves. The aluminum foil will pick up even the slightest traces of oil, so your fingerprints will show up on the final print if you touch it with your bare hands.
2. Scoop about half a tablespoon of ink into the paper plate with a plastic knife. Using a brayer, roll it out to a smooth, even layer. You don’t want it to be goopy—a little goes a long way! Set it aside until you’re ready to print.
3. Tear a sheet of aluminum foil smaller than the size of the cookie sheet. Try to keep it as smooth as possible. Lay your aluminum foil the on the cookie sheet, shiny side up, and tape the edges down with masking tape so it won’t move around while you work.
4. Use the steel scrubby to gently rough up the surface of the foil where you plan to draw your image: the texture helps the sharpie adhere to the foil, creating a better resist.
5. Draw you image on the foil with a sharpie: simple lines and shapes work best (in our case, stars, planets, and galaxies were the theme).
6. This is where it gets cool: open your cola and pour it over the image. Let it stand for a minute or two. The phosphoric acid in the cola etches around the lines of your drawing into the foil.
7. Lightly rinse your etched foil sheet in the sink, just enough to get the cola off (leave it taped to the cookie sheet while you do this.)
8. Now, pour a little vegetable oil on the surface of the foil and buff it in gently using a clean sponge. You may start to see the Sharpie marks coming up: that’s fine, don’t sweat it. This is also the equivalent to oiling your stone so the water pools in the etched area (you won’t really see it, but it’s happening!).
9. Dip your sponge in clean water and brush it over the surface. You want the foil to be wet…but not too wet. Just damp. You may have to work a bit to figure out perfect amount.
10. Now roll the inked brayer over the image, then wipe the foil again with the wet sponge and repeat. You want to make at least three passes with the ink, and keep wiping the surface with the wet sponge in-between charges. If the surface does not have enough water on it, the ink will roll up your whole image. When the ratio is perfect, only the image will pick up the ink and you will get a crisp print (this takes some practice—there are artists who really work at this, so don’t get discouraged!).
11. Lightly mist a sheet of watercolor paper with the spray bottle (again: not too much, not too little, think Goldilocks here) press it over the foil, and smooth it out. The back side of a large spoon is a good tool for this.
12. Gently lift your print off the foil and admire it! You can make multiple prints from one foil “plate.”
13. If you want to add color, you can use watercolors, pencils, paint, whatever you like. If you’re feeling really confident, you could even try making multiple prints in different colors on the same paper, adding one color at a time, as in chromolithography.
Quick Instructions
1. Cover a piece of cardboard with tin foil, matte side up.
2. Draw picture with greasy material. (China marker, crayon, and sharpies work well)
3. Coat drawing with flour, rub it in.
4. Add cheap pancake syrup. I didn’t have that so used corn syrup and it still worked. Wipe with water.
5. Place drawing side down on coke for 2 minutes.
6. Use kitchen oil (I used olive oil) to cover the entire plate. The drawing will disappear but a ghost image remains.
7. Apply a damp sponge to plate right before inking it up.
8. Ink up brayer with oil paint and roll onto plate.
9. Press plate onto paper. Voila!
|
|
|
|
|
|
|
|
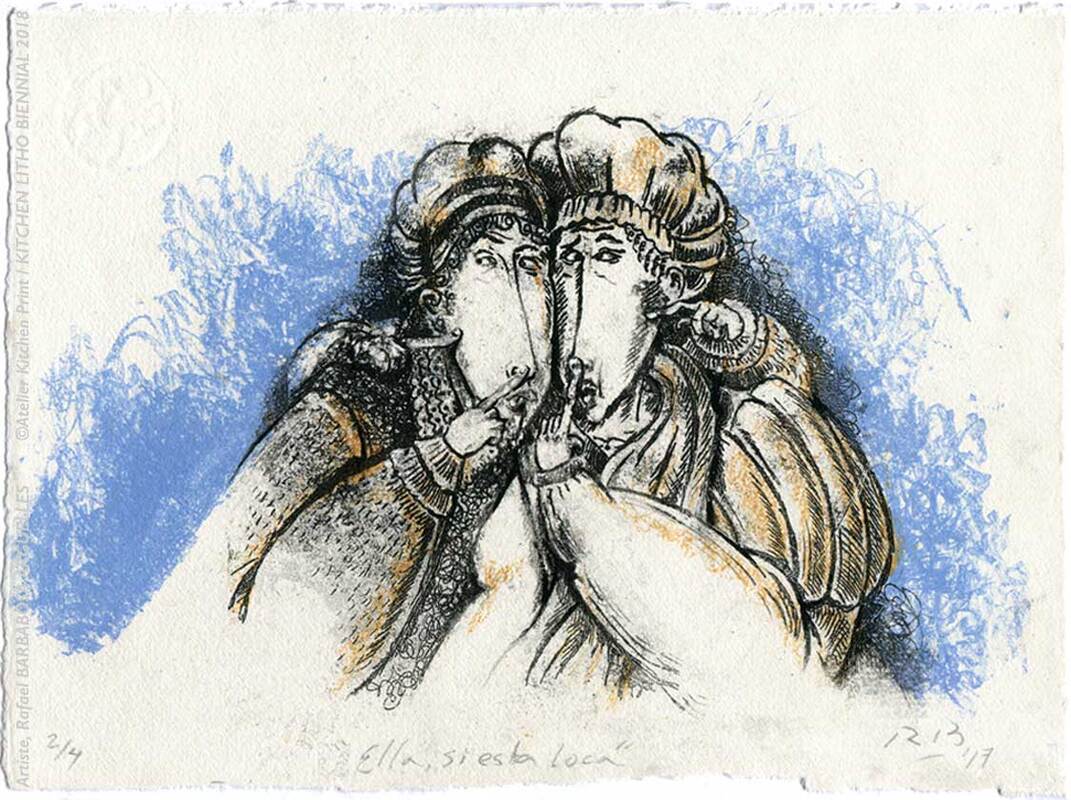
Rafael Barbabosa Arguelles. "Ella, si esta loca" (2017) Kitchen Litho
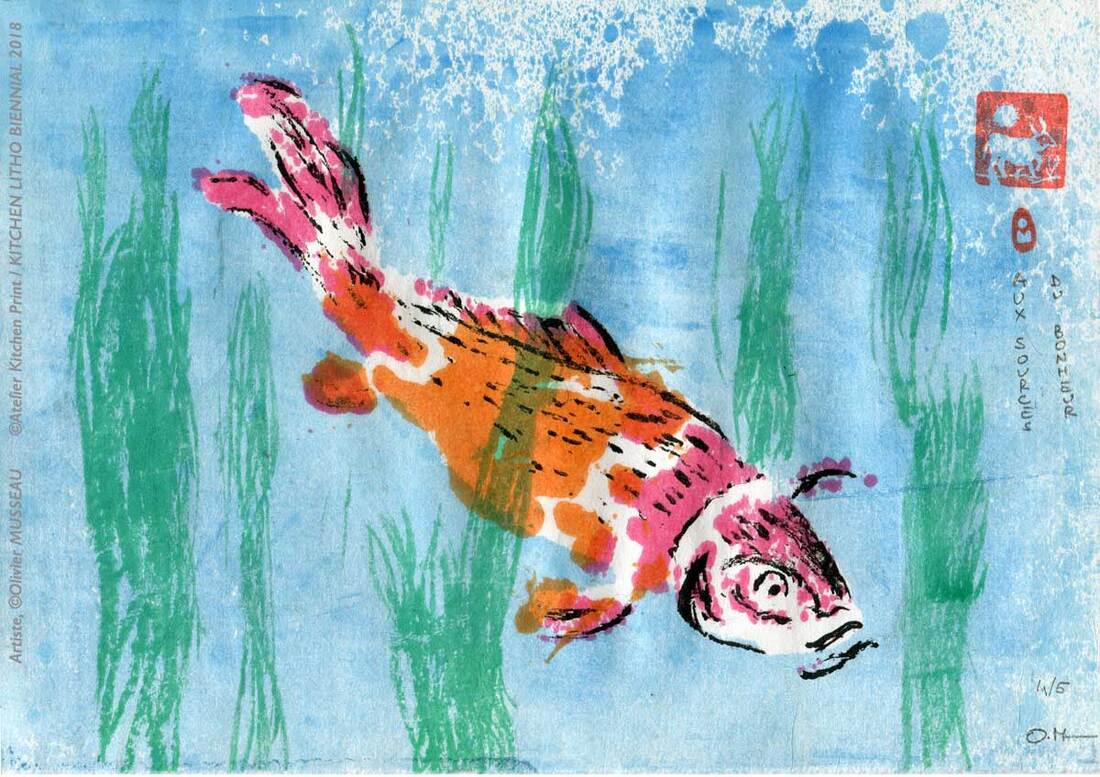
Olivier Musseau, "Aux sources du bonheur" (2016) Kitchen Litho

Hanna de Haan, "Home" (2015) Kitchen Litho
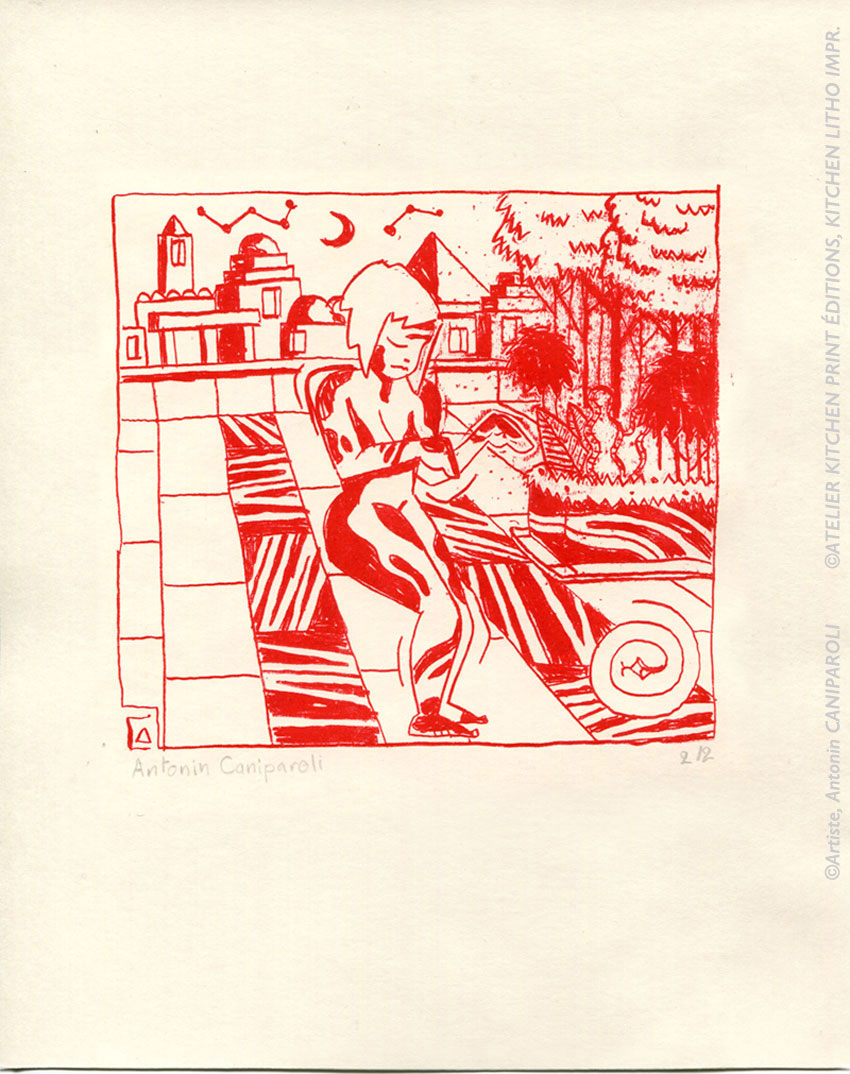
Antonin Caniparoli, "untitled" (2015) Kitchen Litho
|
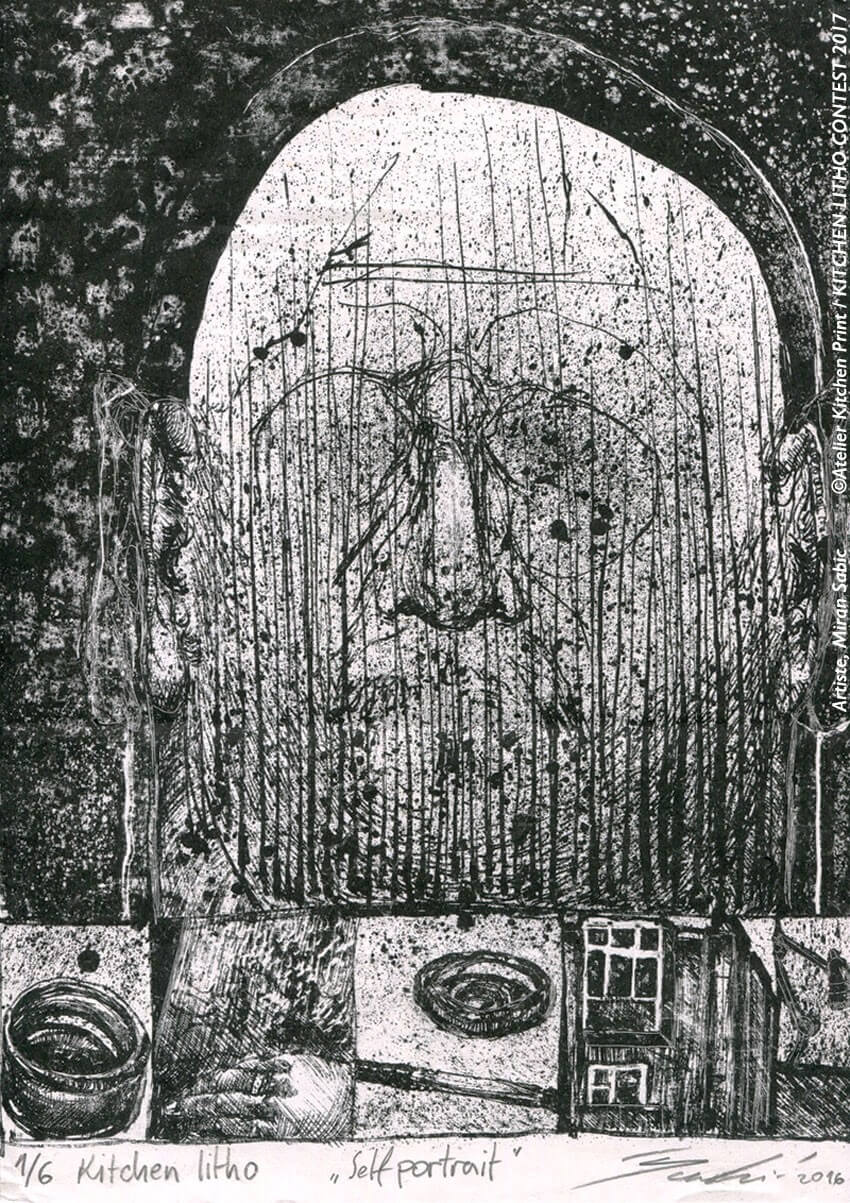
Miran Sabic, "Self Portrait" (2016) Kitchen Litho
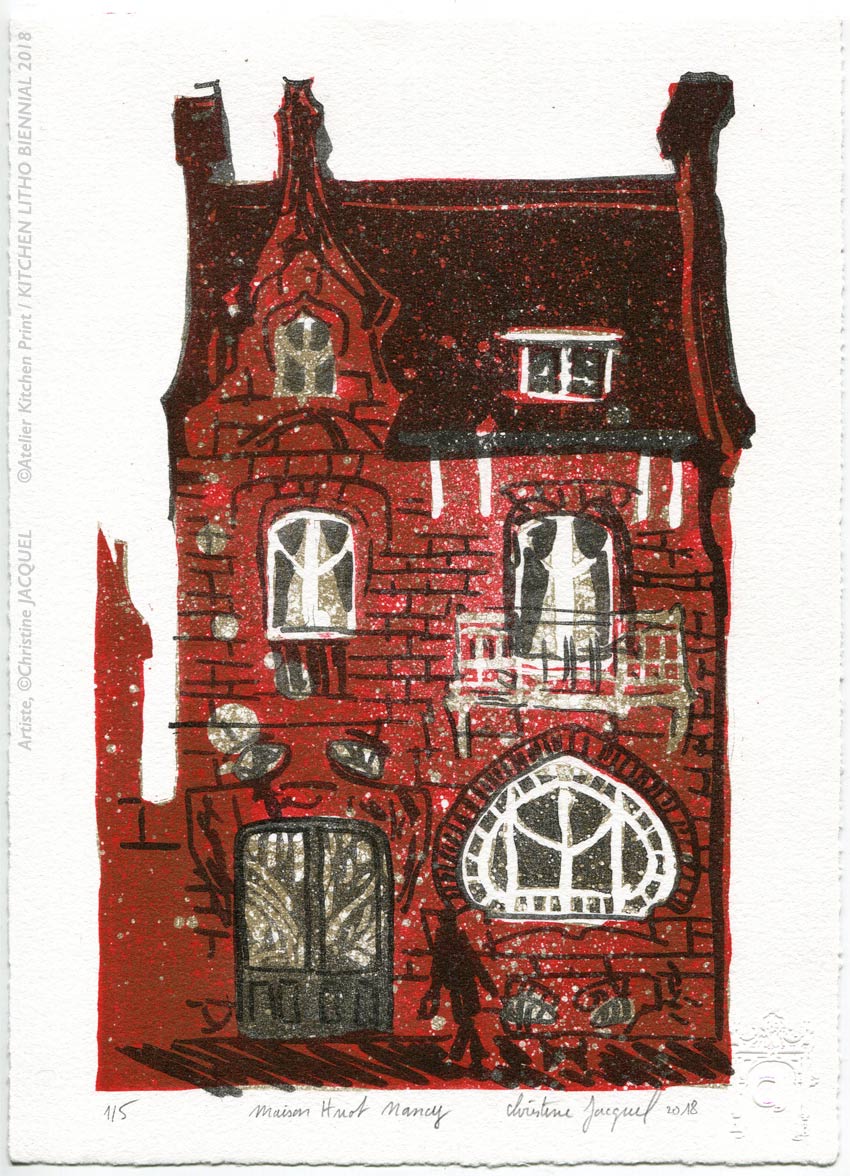
Christine Jacquel, "Maison Huot Nancy" (2018) Kitchen Litho
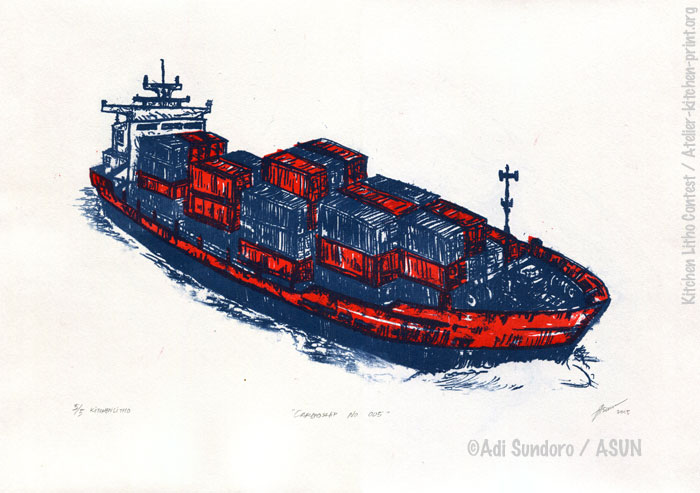
Adi Sundoro, "Cargo Ship 005" (2015) Kitchen Litho
|
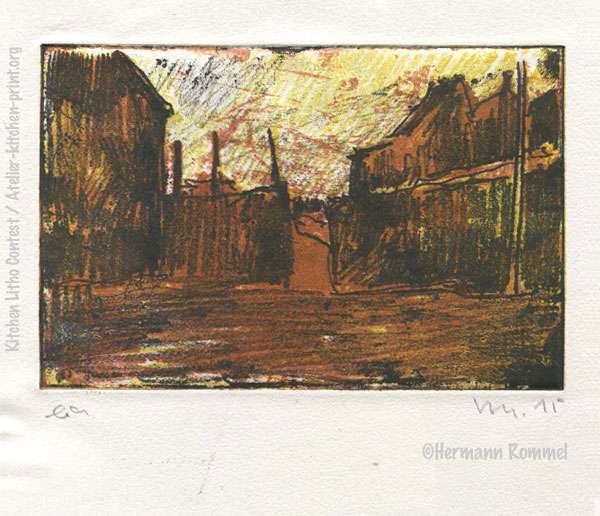
Adi Sundoro "Ziegelei" (2015) kitchen Litho
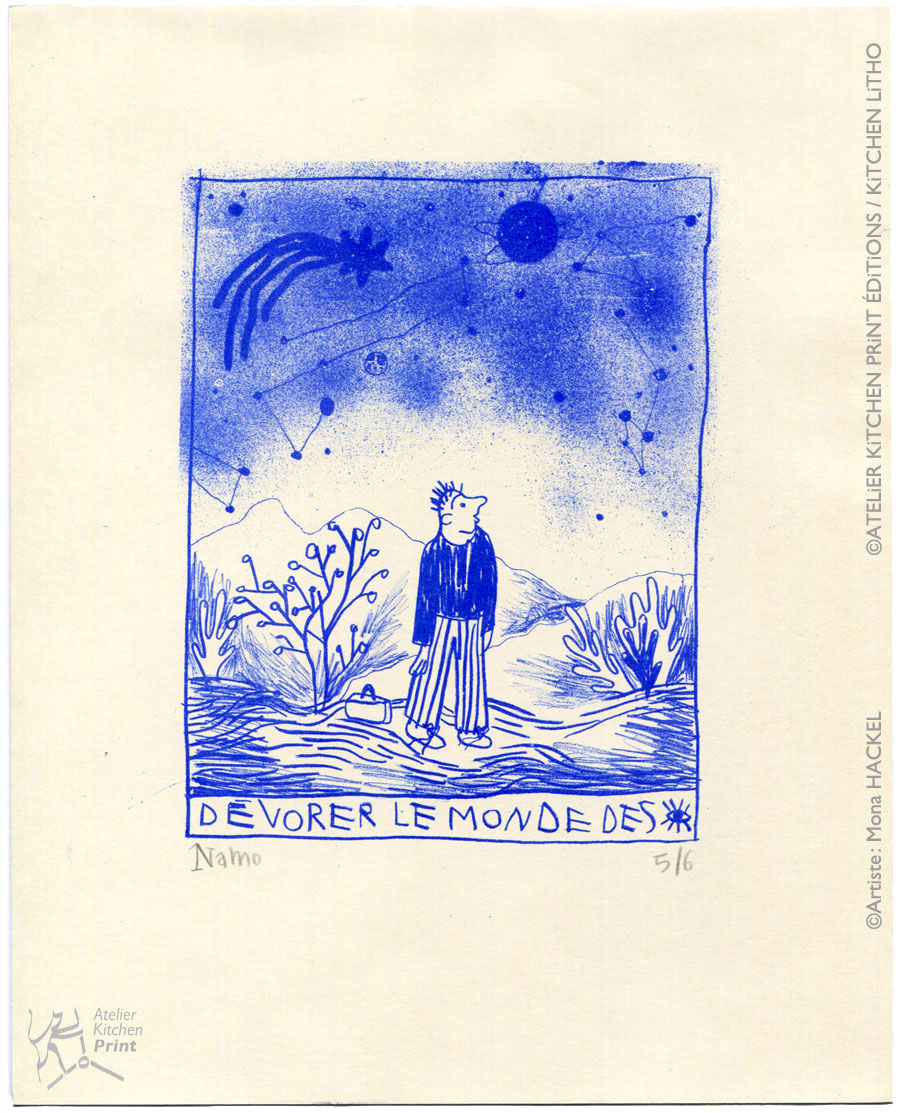
Mona Hackel, "Namo" (2015) Kitchen Litho
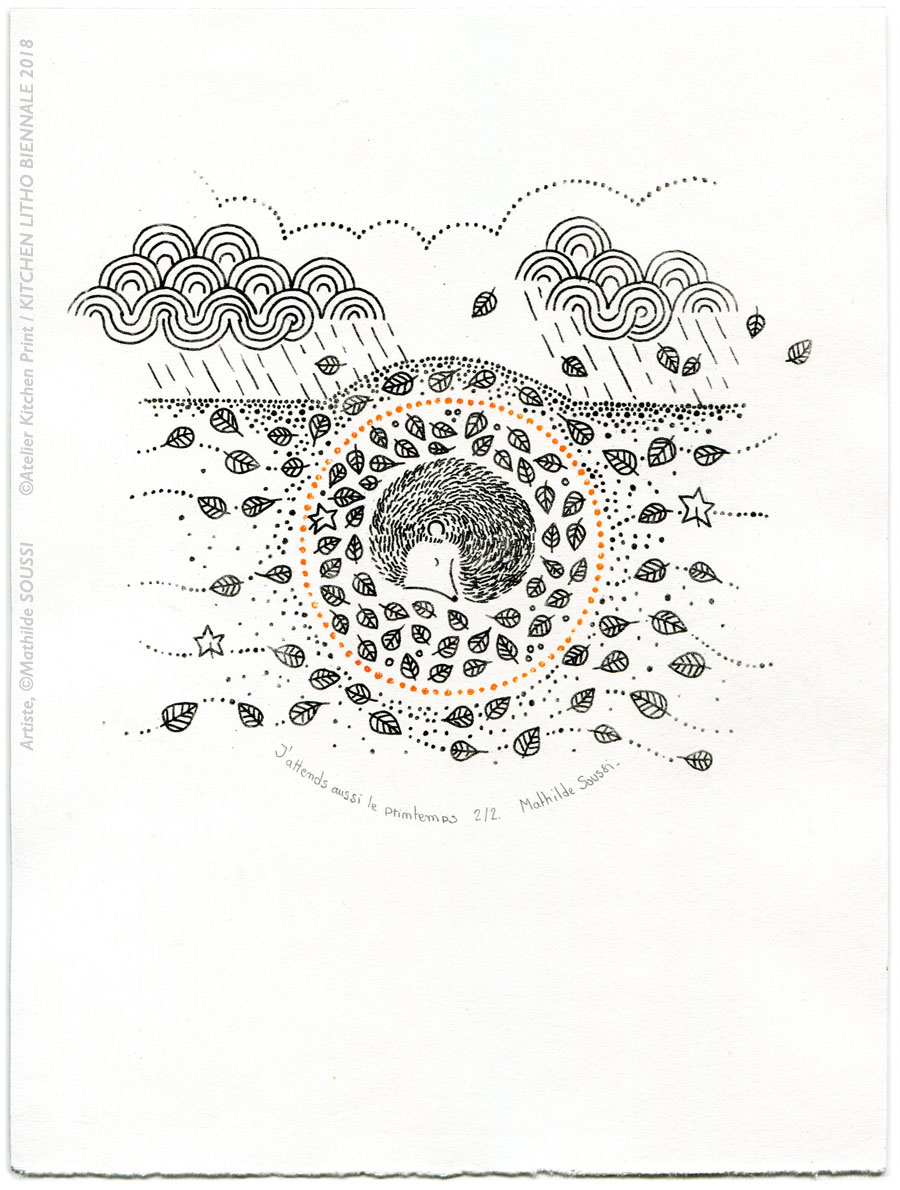
Mathilde Soussi "J’attends aussi le printemps" (2017) Kitchen Litho
|
References (in progress)
https://www.nontoxicprint.com/kitchenlitho.htm
https://www.marthastewart.com/1539750/how-try-kitchen-lithography
https://www.atelier-kitchen-print.org/field/kitchen-litho-contest-2014/
https://www.atelier-kitchen-print.org/field/kitchen-litho-contest-2016/
https://www.atelier-kitchen-print.org/field/gallery-2017-18/
